Tuesday, July 22, 2014

Roofing it

The roof edge replacements are officially half way done.
This side was a bit of a pain considering all the work was from a ladder.
I am spoiled. I admit working from the top of a storage container is very nice.

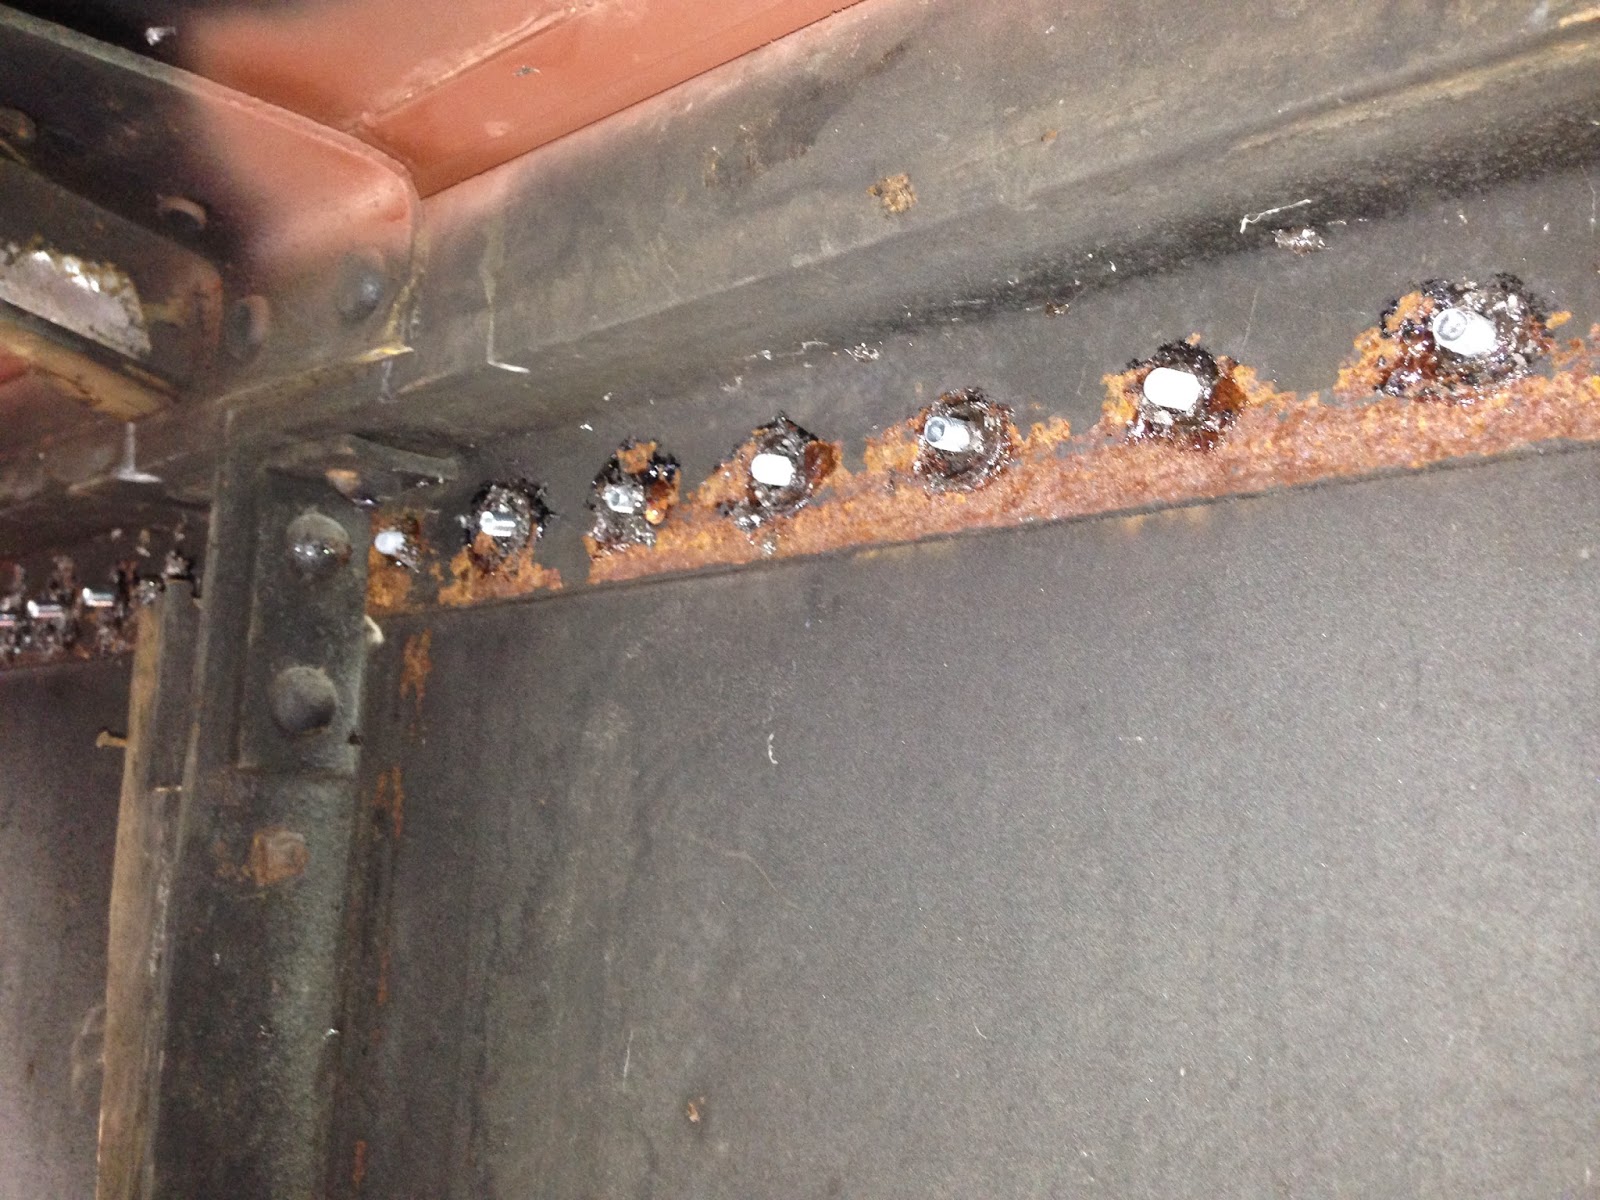
Anyway... just a few picture. Its the same with little different from the first side. The metal was already in place, just had to drill it out bolt it up.


Before drilling all the way through, I inserted a sealer from the inside. The hope was it would hit the outside steel and spread out creating a " gasket" around the hole. Well...It worked perfect!!


I have a bit of clean up on the outside but that is fine.
Remember, the entire car will be sand blasted and primed when the shell repairs are complete. The primer that you see now is only to minimize the rust till then.


This little driver is the best!


I quick shot of primer on the inside and its clean up time.

Monday, July 7, 2014

Another Day...Another roof piece

So now two of the four lower roof edges are welded in place.
The morning started much like the others, I sized up the steel and marked the cut line.


It always amazes me to see how fast the rust starts. That is the new piece that I installed a few days ago.


One the old was cut out, I cleaned all the rust flakes from the inside.


I wanted to take the new steel past the edge because the old was all bent and nasty looking.


see


After cleaning the area, I primed the inside that no one will ever see again.


Grinded and ready for prime

I welded the backing strip inside first.


And primed the entire area when finished


I tucked a tab into the side to give a better look


The sealer is on and one more side is welded in place. Next to drill and bolt it down.


Monday, June 23, 2014

More roof work

Saturday and Sunday were spent wrestling with the roof steel and out press.
The steel is better to be fitted BEFORE it gets installed.
I want to get it as close as possible so there will not be a " fit " issues on the roof.
This side has no landing or platform so my legs are feeling it this morning.
I started by bending the steel. Once I repaired the press, this was easier to do.

I brought the pieces up onto the roof and dry fit them in place. I marked the cut lines and away we went.


Once marked it was time to cut. I did take the time to wet the interior of the caboose. I wanted to minimize any chance of setting it on fire...again.


There was an excess of rust flakes under this section. I removed them all and cleaned the area with a grinder and wire wheel.


After the grinding, the area was primed and ready to go.
The new piece is welded in and the grinding has begun.


The second section will be done later this week


Monday, May 5, 2014

Two More Windows...Done!

Well , smaller copula windows are complete.
I started Saturday with a very ambitious goal; do two windows.
Given the first window took 8 hrs, and the second 7... this was going to be a task.
The rivits had already been re,oved. So in the fitsr 15 minutes on site, the windows were out.


I was smarter this time, I cut a registry mark in the tops of each piece and an "L" or a "R" on the inside.
After they were out, I got to striping them


I removed some of the old welds. The gaps are really wide on these two.

I had to weld a filler into the seam to make it easier.


Once the welds were done, they were ground down and the filler was applied


As they dried, I moved on the the windows , themselves.
Cleaned and polished and ready to go back in.


Once these were done, I sanded the frames and painted them black.


I used an industrial grade tar based sealer.


They are painted now but i still intend to sand blast the entire car for the real paint job
Time to get some rest.
This one beat me up!