

This is done in two sections.
The steel would have been harder to work if we had kept the full length.
After bending the steel parts, it was time to put them in!
I marked the entire side and dry fitted the part the best I could.

Once it was marked, It was time to cut.

Once the old part was removed, I had to clean all the rust from the interior area. I primed that area because it will likely never be seen again. ( At Least in my lifetime)

The shell and the frame had separated so I inserted bolts to close the gap and I welded the shell to the frame. I had to remove those bolts because those holes will be needed for the final attachment


I tacked the new piece in place

Ground down the welds and here you go! Just that easy!


I primed the new steel and got it ready for the next piece

The second part was very similar


Then comes the drilling

 \
\
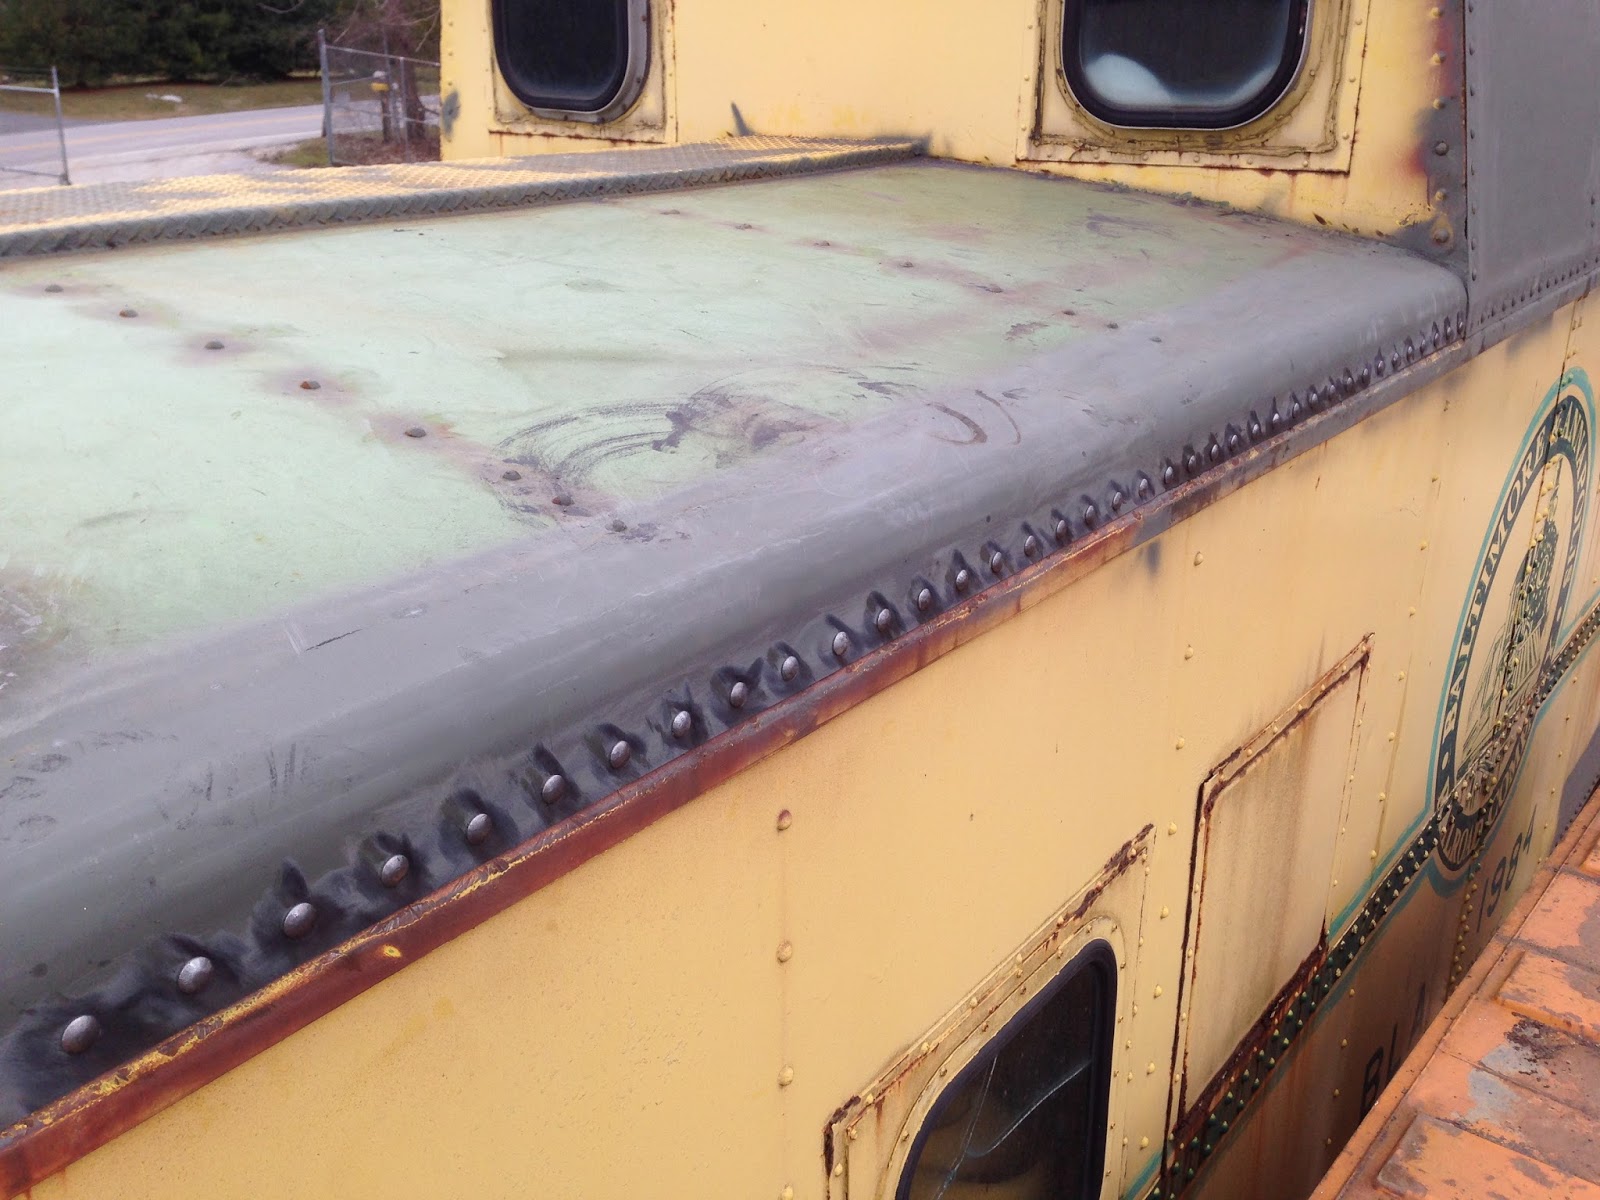
And new bolts

Lots and lots of bolts

No comments:
Post a Comment
Note: Only a member of this blog may post a comment.