Monday, December 22, 2014

New Rails

The day yesterday was spent attaching the rails that were bent last week.
The curve and height looked great.
Because I did not want to re-bolt the rails to the ladder, I ground down the heads of the rivets and welded them in place. The rails where heated and hammered flat to give a better appearance and to give a larger flat surface to weld to.
THEY HELD GREAT!
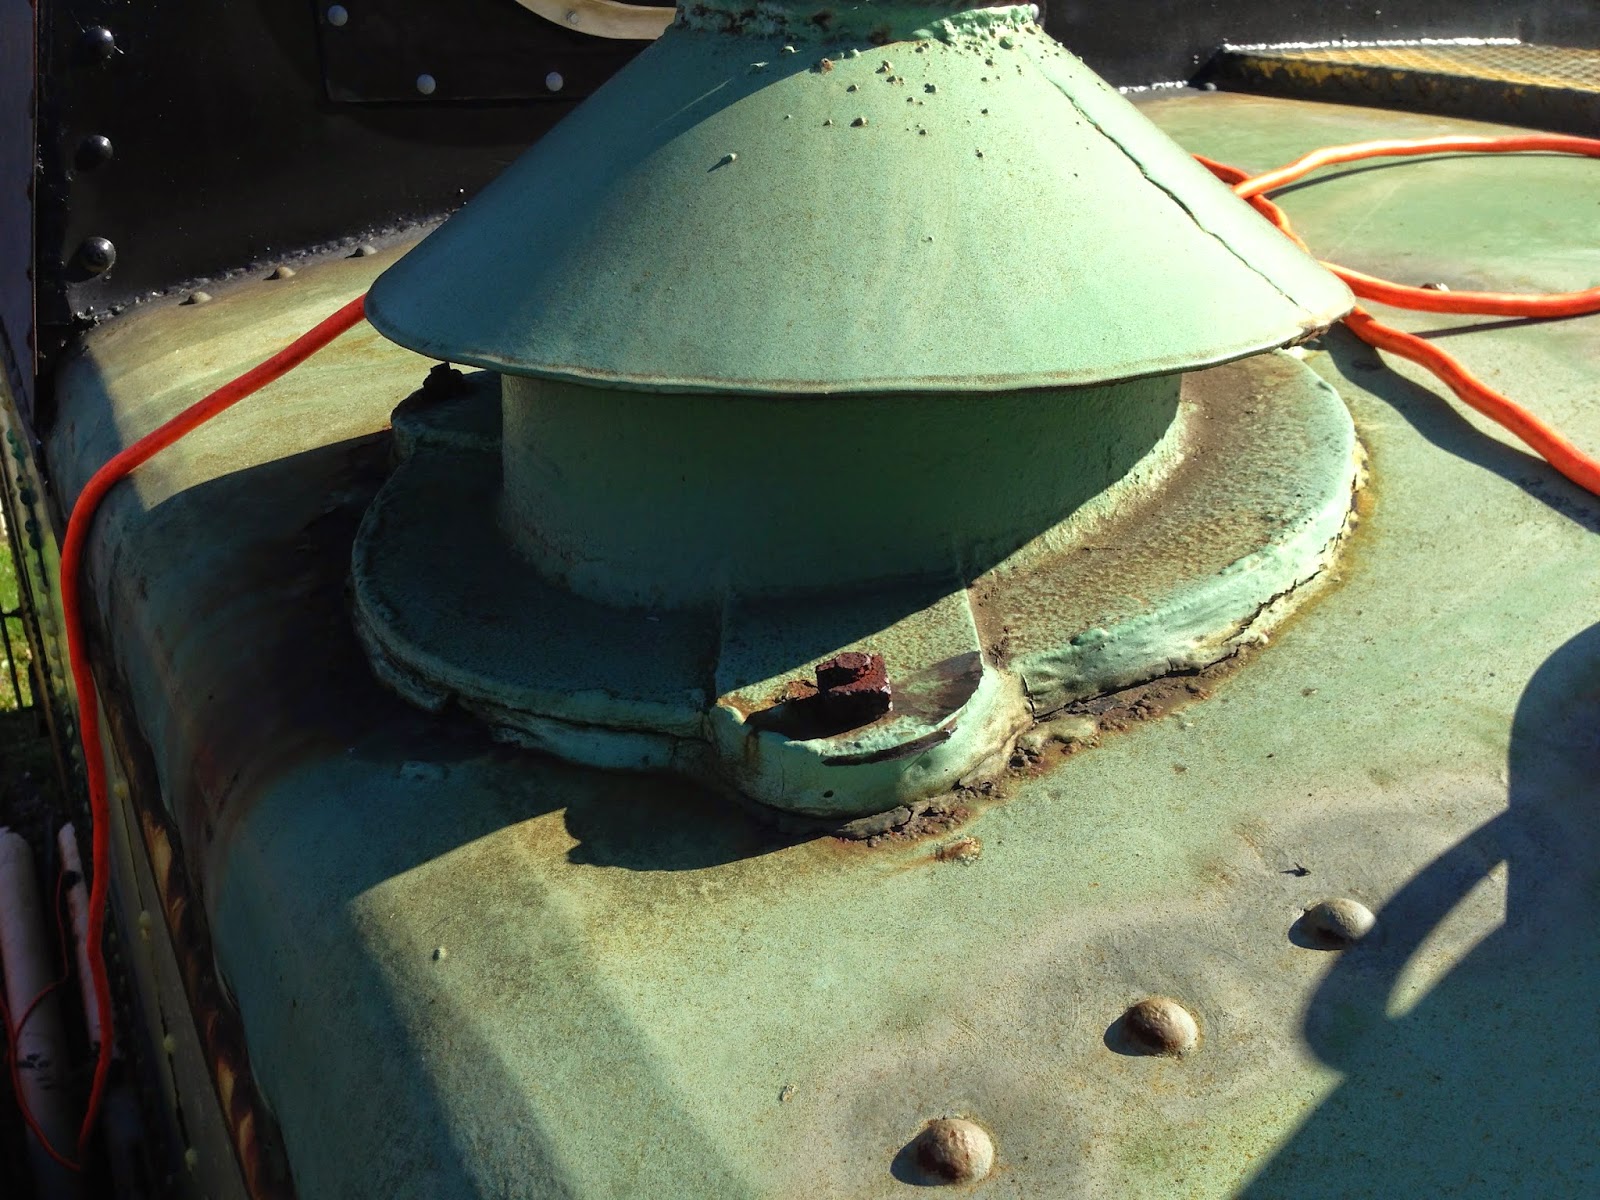
The attachment to the roof studs was the same as it was on the top of the copula.


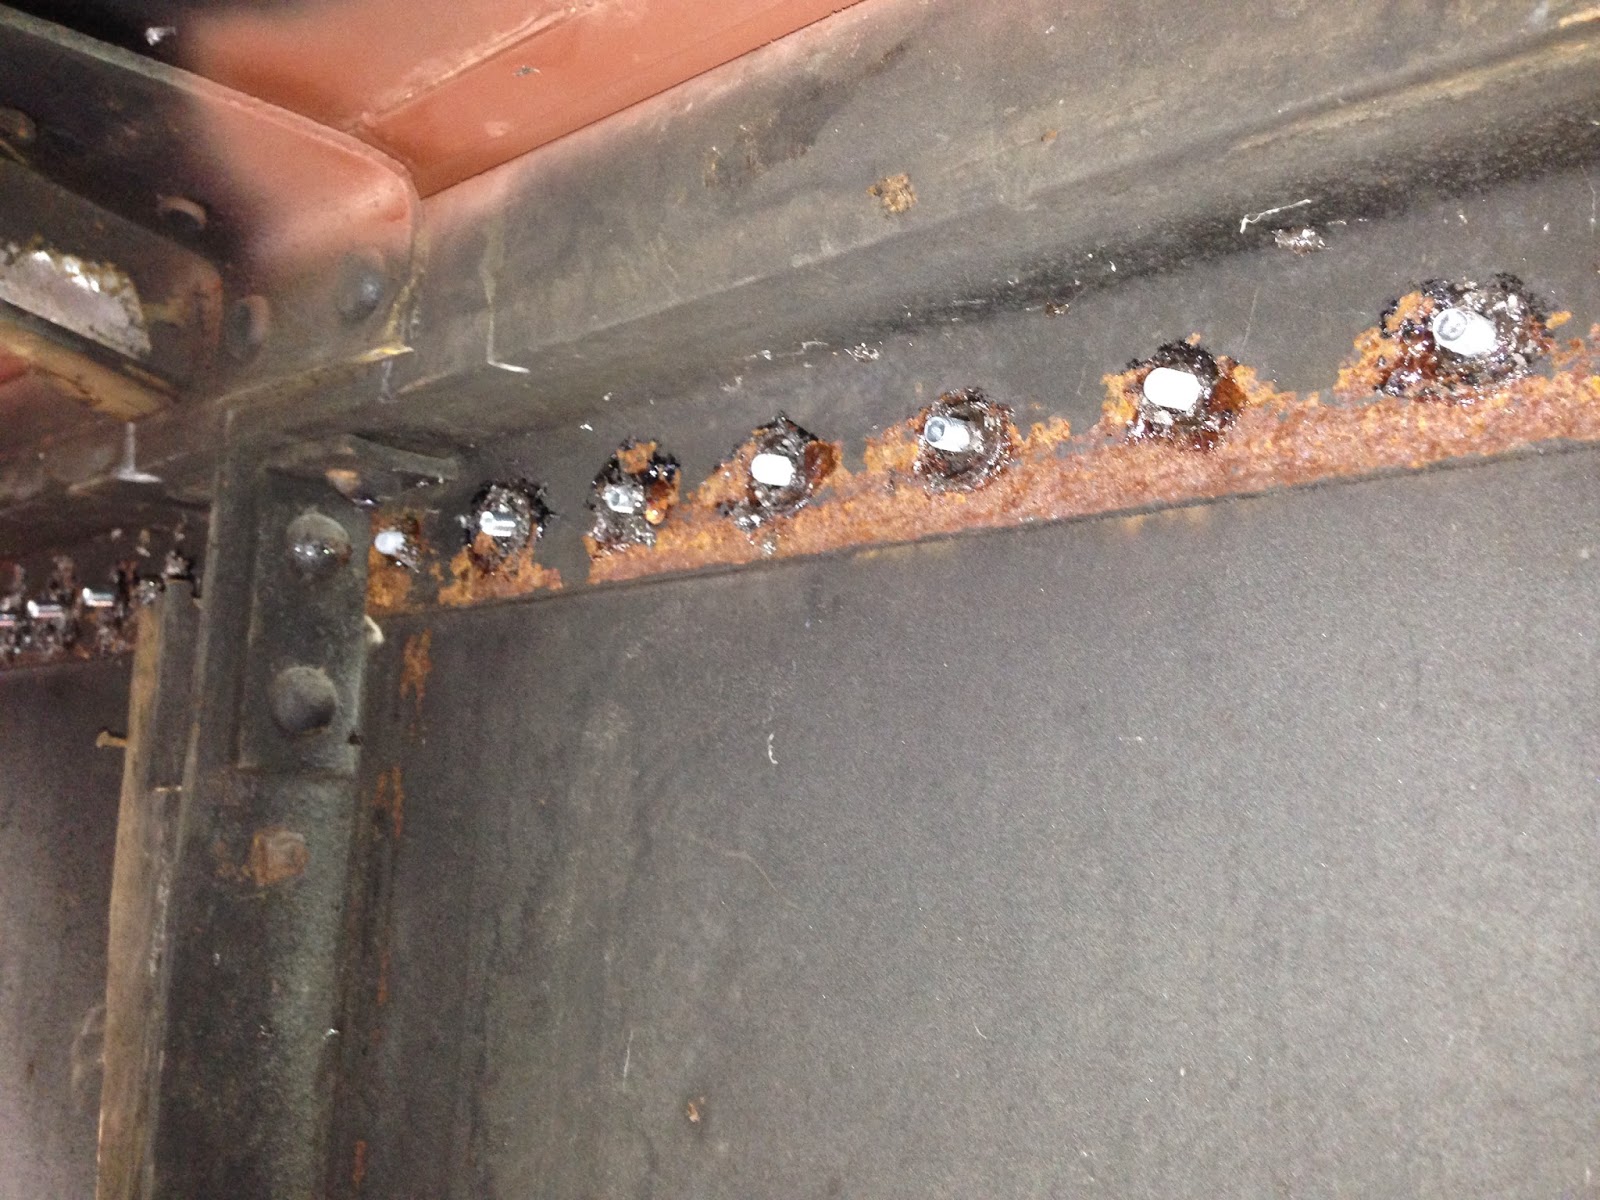
The top rung of the ladder was also removed to help keep unwanted visitors from the top of the car


I fit 3/4 round stock through the existing holes ( after I opened them back up)
and welded the new rung in place.


They are nice and sturdy.
Next week, the other set.

Monday, December 15, 2014

Roof Handles

A few weeks ago I made the roof handles but did not get to the handle that got you on the roof. 
That day is today.
I started with the same 3/4" stock bar and made a template on cardboard.
I got the distance and spacing now I just need to bend it.

You can see at the top of the exterior ladder , where the handles had been cut off.


The handles will attache at the top of the ladder and then to the roof.


I used my home made anvil to flatten the surface of the side that will attach to the ladder.
I ran out of time today.
I will be attaching them next week.


Monday, October 27, 2014

The Chimney

The chimney weighed a TON!


Water was leaking through the joint.

I cut the bolts and hammered them though

When the portion if the chimney on the interior broke loose... It made a a crazy loud bang as it hit the floor inside.
That part must weigh 100 lbs.!!


The hole needs to be cleaned up and primed


The top had to be cleaned up. I cut the top off and removed the section that was rusted so I can re-weld the top back to good metal.


More on this next week.

Well, all the parts have been cleaned and primed.
Did I mention they weighed a TON!?


Now the fun begins...putting it back up.
The top should be no problem.
Did I mention the weight?
These parts are all Cast Iron.
I believe the base it approx. 80-90 lbs and the top is very close to the same.
Not the best task being solo.

BUT...
Its done.
The interior was a pain.
I had to lift it in place and find a way to put a washer and bot on the carriage bolt.
Fun times.
Did I mention the weight?

I loaded up the surface with a good sealer.
I am hoping it is all it claims to be


The top was sealed with a tar based sealant from 3m.
The windows were done with the same product.
It worked great on those.
I am going to let it dry then cut the extra away and dress it up.


Roof Handles

She has handles!

Saturday was spent finding a new talent...well maybe "talent" is a strong word.
Take two!... Saturday was spent discovering another thing that I needed to learn.

The car has a few areas that had been removed from its original state.
One one them where the handrails that are on the top of the copula.
They were cut off. I can only assume that it was done to make it harder for unwanted visitors on the top of the car while it was in storage.

So along with the ladder rungs and ladder rails, the top hand rails will need to go back on.
The weekend was spent doing part of that and learning how to bend 3/4" round stock.


These are the anchor points of what was the hand rails.

I ground them flat to give a better surface to weld the new rails to.
Then the fun began


It started with finding this awesome deal on a bender...29.95!!!
SOLD!

I started with a templet. later I would find an easier way.


Then the first bend!


It lined up GREAT!
I had to fit a small riser support at the corner.

#'s 2,3 and 4 went way faster.
I actually bent all three of the remaining corners then welded them at the same time.
It saved these old legs a lot of ups and downs 

I laid the rail over the mounting locations and marked the actual rail it self. No more templet.

Next was cutting the raiser height on the remaining three.

 #2

#3

1 , 2, 3 and 4!


Grind-ed to look nice and primed


Next... The ladders


Tuesday, July 22, 2014

Roofing it

The roof edge replacements are officially half way done.
This side was a bit of a pain considering all the work was from a ladder.
I am spoiled. I admit working from the top of a storage container is very nice.

Anyway... just a few picture. Its the same with little different from the first side. The metal was already in place, just had to drill it out bolt it up.


Before drilling all the way through, I inserted a sealer from the inside. The hope was it would hit the outside steel and spread out creating a " gasket" around the hole. Well...It worked perfect!!


I have a bit of clean up on the outside but that is fine.
Remember, the entire car will be sand blasted and primed when the shell repairs are complete. The primer that you see now is only to minimize the rust till then.


This little driver is the best!


I quick shot of primer on the inside and its clean up time.

Monday, July 7, 2014

Another Day...Another roof piece

So now two of the four lower roof edges are welded in place.
The morning started much like the others, I sized up the steel and marked the cut line.


It always amazes me to see how fast the rust starts. That is the new piece that I installed a few days ago.


One the old was cut out, I cleaned all the rust flakes from the inside.


I wanted to take the new steel past the edge because the old was all bent and nasty looking.


see


After cleaning the area, I primed the inside that no one will ever see again.


Grinded and ready for prime

I welded the backing strip inside first.


And primed the entire area when finished


I tucked a tab into the side to give a better look


The sealer is on and one more side is welded in place. Next to drill and bolt it down.