Monday, October 27, 2014

The Chimney

The chimney weighed a TON!


Water was leaking through the joint.

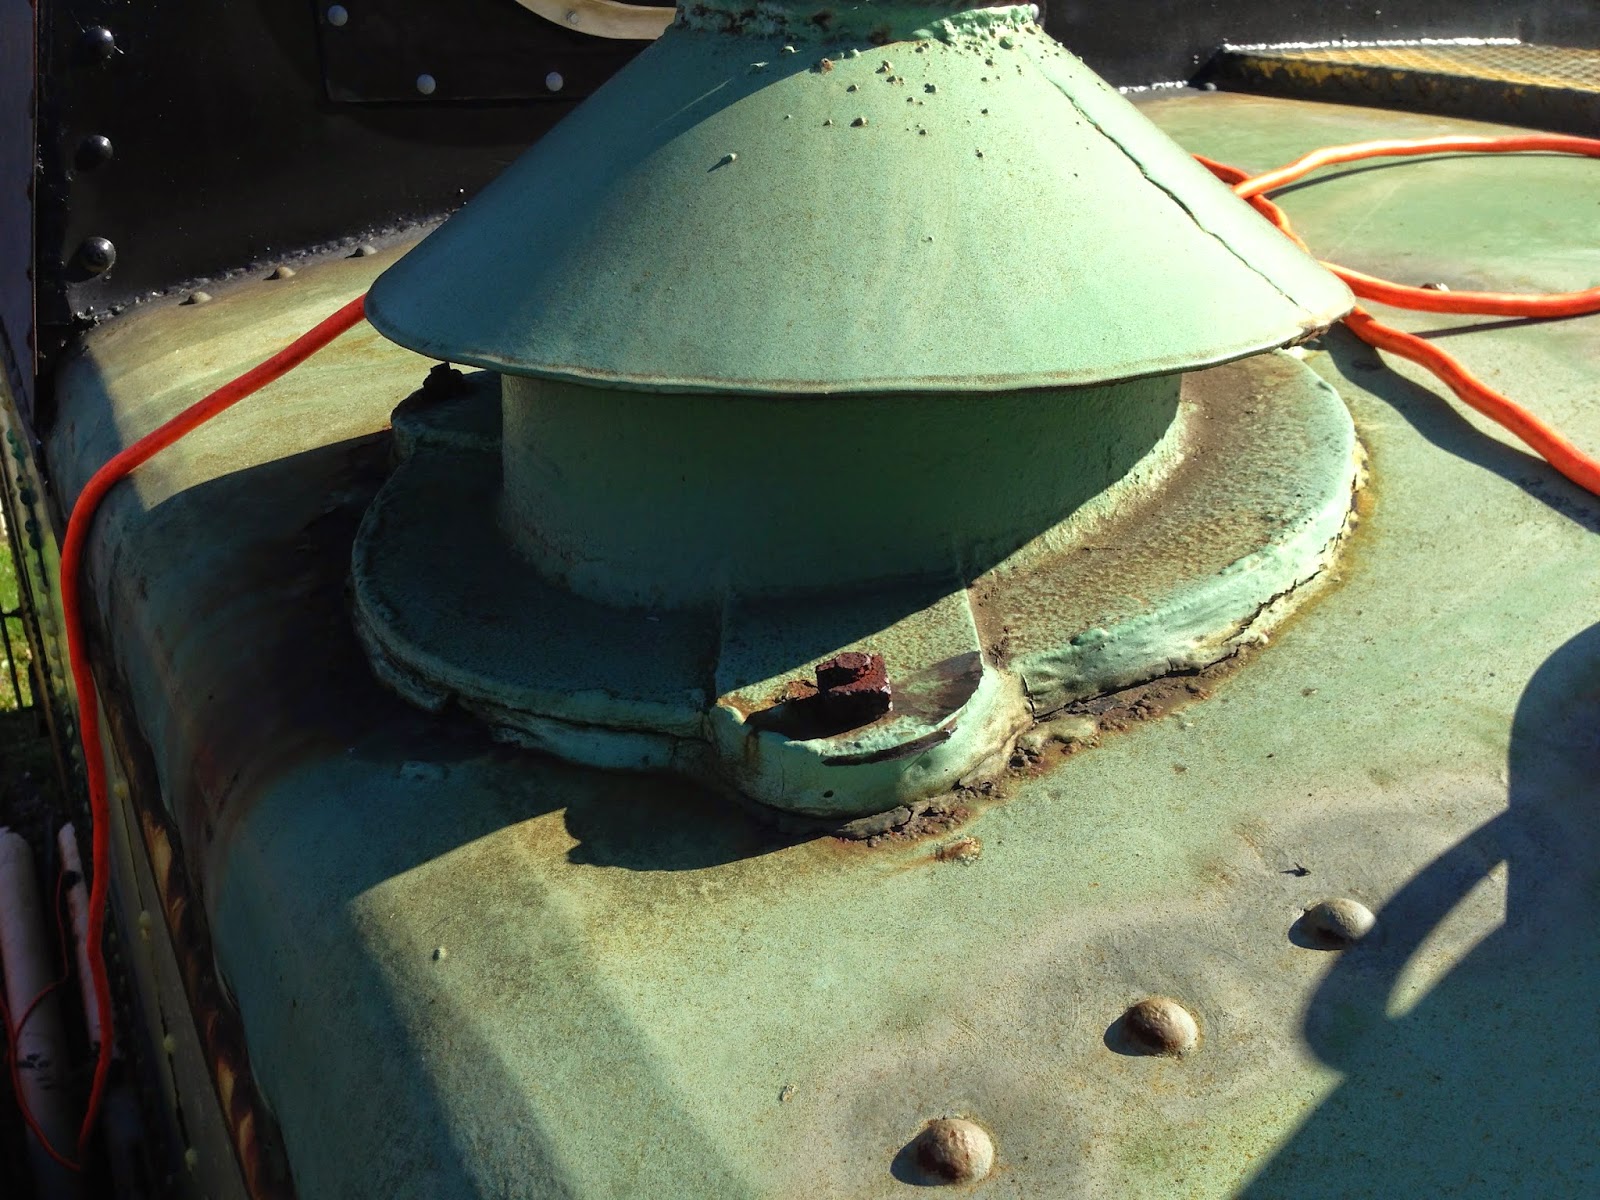
I cut the bolts and hammered them though

When the portion if the chimney on the interior broke loose... It made a a crazy loud bang as it hit the floor inside.
That part must weigh 100 lbs.!!


The hole needs to be cleaned up and primed


The top had to be cleaned up. I cut the top off and removed the section that was rusted so I can re-weld the top back to good metal.


More on this next week.

Well, all the parts have been cleaned and primed.
Did I mention they weighed a TON!?


Now the fun begins...putting it back up.
The top should be no problem.
Did I mention the weight?
These parts are all Cast Iron.
I believe the base it approx. 80-90 lbs and the top is very close to the same.
Not the best task being solo.

BUT...
Its done.
The interior was a pain.
I had to lift it in place and find a way to put a washer and bot on the carriage bolt.
Fun times.
Did I mention the weight?

I loaded up the surface with a good sealer.
I am hoping it is all it claims to be


The top was sealed with a tar based sealant from 3m.
The windows were done with the same product.
It worked great on those.
I am going to let it dry then cut the extra away and dress it up.


Roof Handles

She has handles!

Saturday was spent finding a new talent...well maybe "talent" is a strong word.
Take two!... Saturday was spent discovering another thing that I needed to learn.

The car has a few areas that had been removed from its original state.
One one them where the handrails that are on the top of the copula.
They were cut off. I can only assume that it was done to make it harder for unwanted visitors on the top of the car while it was in storage.

So along with the ladder rungs and ladder rails, the top hand rails will need to go back on.
The weekend was spent doing part of that and learning how to bend 3/4" round stock.


These are the anchor points of what was the hand rails.

I ground them flat to give a better surface to weld the new rails to.
Then the fun began


It started with finding this awesome deal on a bender...29.95!!!
SOLD!

I started with a templet. later I would find an easier way.


Then the first bend!


It lined up GREAT!
I had to fit a small riser support at the corner.

#'s 2,3 and 4 went way faster.
I actually bent all three of the remaining corners then welded them at the same time.
It saved these old legs a lot of ups and downs 

I laid the rail over the mounting locations and marked the actual rail it self. No more templet.

Next was cutting the raiser height on the remaining three.

 #2

#3

1 , 2, 3 and 4!


Grind-ed to look nice and primed


Next... The ladders