Tuesday, July 22, 2014

Roofing it

The roof edge replacements are officially half way done.
This side was a bit of a pain considering all the work was from a ladder.
I am spoiled. I admit working from the top of a storage container is very nice.

Anyway... just a few picture. Its the same with little different from the first side. The metal was already in place, just had to drill it out bolt it up.


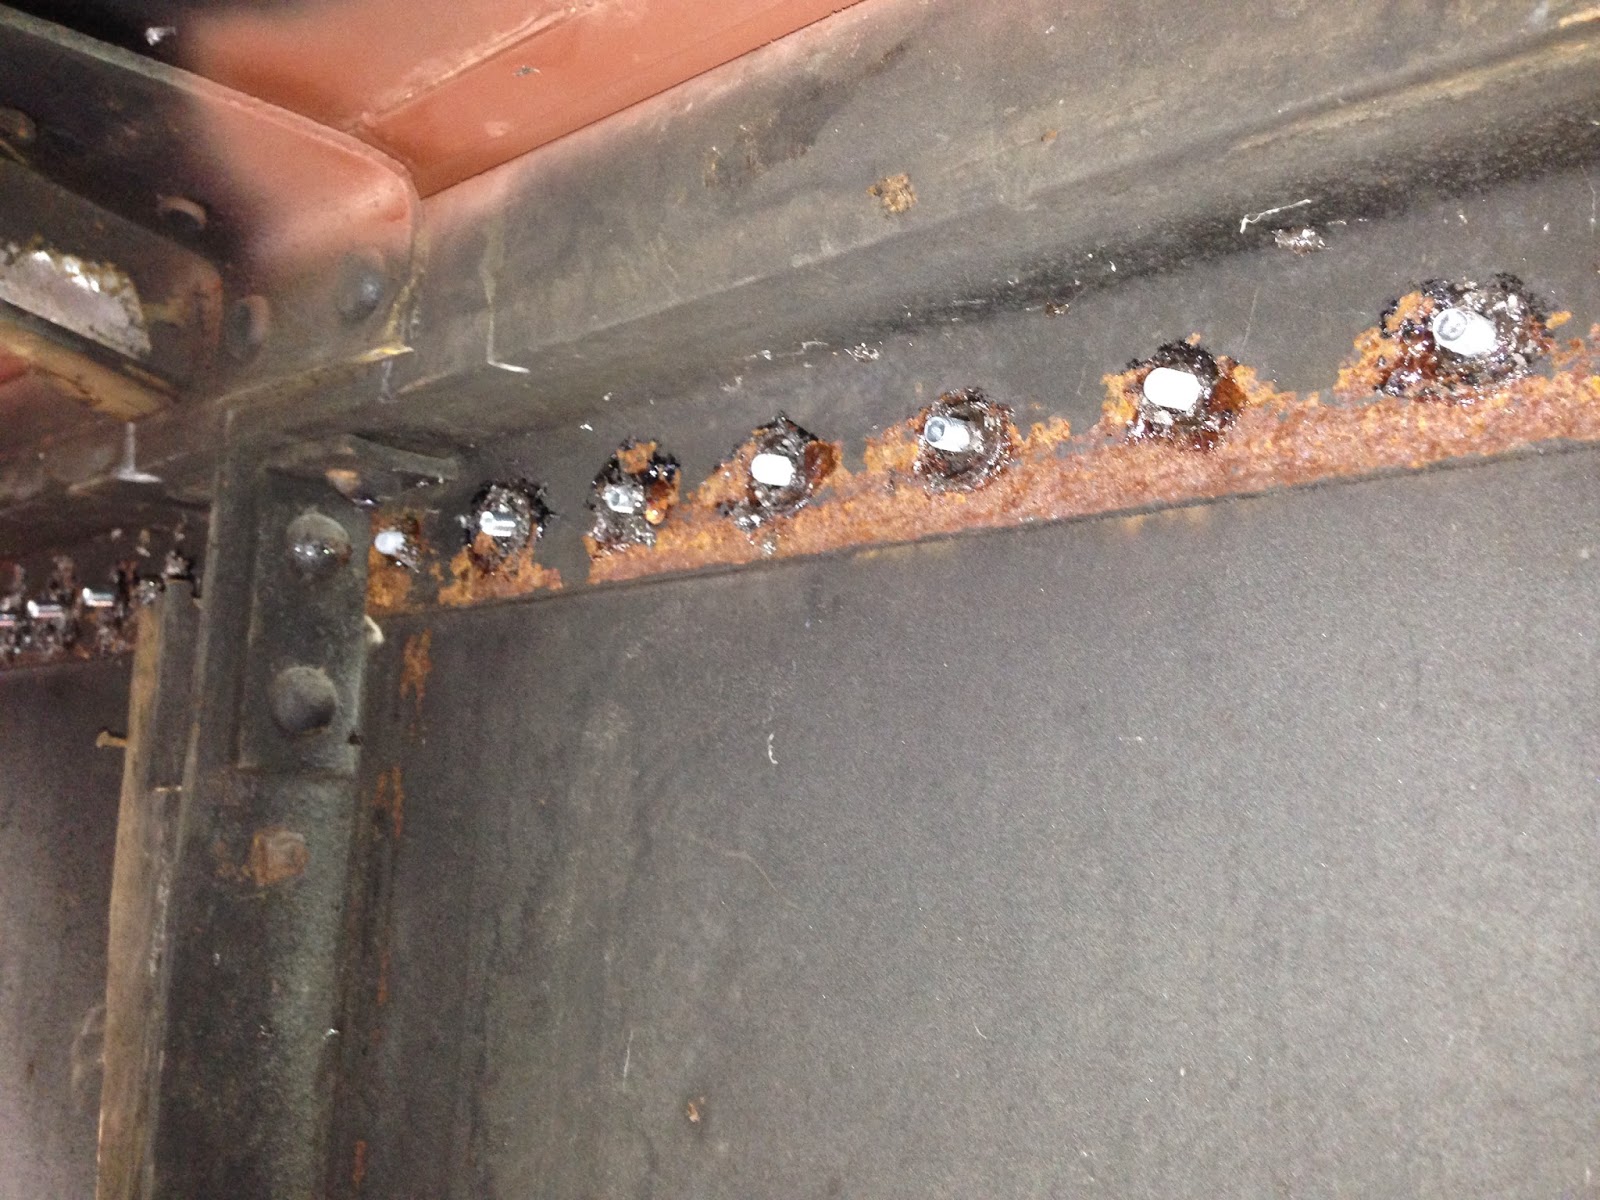
Before drilling all the way through, I inserted a sealer from the inside. The hope was it would hit the outside steel and spread out creating a " gasket" around the hole. Well...It worked perfect!!


I have a bit of clean up on the outside but that is fine.
Remember, the entire car will be sand blasted and primed when the shell repairs are complete. The primer that you see now is only to minimize the rust till then.


This little driver is the best!


I quick shot of primer on the inside and its clean up time.

Monday, July 7, 2014

Another Day...Another roof piece

So now two of the four lower roof edges are welded in place.
The morning started much like the others, I sized up the steel and marked the cut line.


It always amazes me to see how fast the rust starts. That is the new piece that I installed a few days ago.


One the old was cut out, I cleaned all the rust flakes from the inside.


I wanted to take the new steel past the edge because the old was all bent and nasty looking.


see


After cleaning the area, I primed the inside that no one will ever see again.


Grinded and ready for prime

I welded the backing strip inside first.


And primed the entire area when finished


I tucked a tab into the side to give a better look


The sealer is on and one more side is welded in place. Next to drill and bolt it down.